
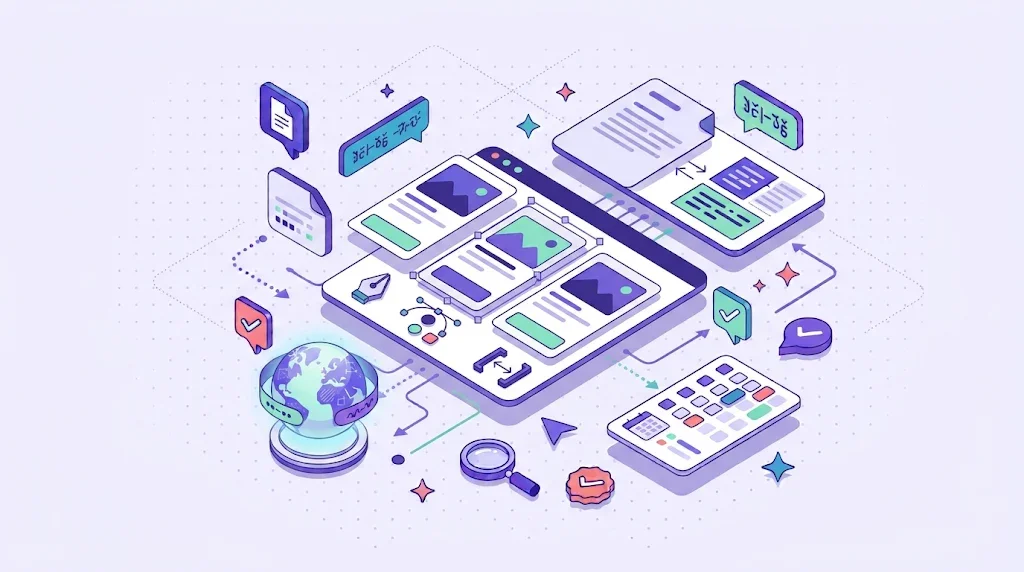
Figma localization is the process of translating and adapting your designs for other languages before developers build them. The most reliable approach is to design with auto layout, test with longer text and right-to-left scripts, and connect Figma to a translation platform through a plugin or integration so translators work on real text with visual context. This catches layout problems when they are cheap to fix.
Many teams only discover that German labels break a button after the feature is live. This guide shows how to localize in Figma, which methods exist, and how to hand off strings to developers without copy-paste.
Why Localize Inside Figma?
Fixing a layout in a design file takes minutes. Fixing it in production takes a ticket, a build and a release. Localizing at design stage gives you three benefits. You see how long translations behave in the real layout. Translators get visual context, which removes most ambiguity about short strings like "Book" or "Order". And stakeholders can approve localized screens for each market before development starts. It also fits naturally into a wider localization workflow, where design is the first step rather than an afterthought.
Four Ways to Translate a Figma Design
| Method | How it works | Pros | Cons |
|---|---|---|---|
| Manual copy-paste | Copy text into a spreadsheet, translate, paste back | No tools needed | Slow, error-prone, no memory or glossary |
| Duplicate frames per language | Copy each screen and edit text by hand | Easy to start | Files grow fast and updates must be repeated everywhere |
| Variables with modes | Store strings as variables and switch modes per language | One design, many languages in the file | Manual setup and no translation workflow |
| Plugin or TMS integration | Export text to a translation platform and import it back | Translation memory, glossary, QA and context included | Needs an initial setup |
The first two methods are fine for a prototype. Once you support more than two languages or ship updates every sprint, the integration approach is the one that scales. Figma also publishes plugin documentation that explains how plugins read and update text layers, which is how translation integrations work.
How to Prepare a Design for Localization
- Use auto layout everywhere. Buttons, tabs and cards should grow with their text, not stay at a fixed width.
- Plan for text expansion. Translations from English are often 20 to 35 percent longer, and short UI strings can grow much more.
- Keep text out of images. Text baked into a bitmap cannot be translated without redrawing the asset.
- Name layers and strings clearly. A meaningful layer name or key gives translators context.
- Avoid joining sentences. Separate text layers for "You have" and "new messages" break grammar in many languages.
- Design for right-to-left. Arabic and Hebrew mirror layouts, icons and progress bars.
- Leave room for formats. Dates, numbers, currencies and names vary by locale.
A fast way to check these rules before real translations arrive is pseudo-localization, which replaces text with longer accented placeholders so you can spot truncation and hard-coded strings right away.
Step-by-Step Figma Localization Workflow
- Finalize the source language. Lock the English copy, or whichever language you design in, before sending it for translation.
- Connect Figma to your translation platform. Select the frames to translate and send the text layers with their screenshots.
- Pre-translate with AI. A first pass fills every language in seconds, and translation memory reuses approved wording.
- Review in context. Translators and reviewers see each string on the screen where it appears.
- Import the translations back. Create localized frames or update text layers automatically.
- Test layouts. Check long languages, right-to-left screens and special characters.
- Hand off to developers. The same keys and source strings feed the code repository, so design and product stay aligned.
Design and Code Should Share One Source of Strings
The biggest time sink is translating the same text twice, once in the design and once in the app. When the Figma file and the code repository connect to the same project, a string translated for the mockup is reused in the build through translation memory. That consistency matters for app localization and SaaS localization, where interface text changes weekly. After release, localization testing confirms that what was approved in design appears correctly in the product.
A platform with UI translations and visual previews shows translators the exact screen, which cuts clarification questions and review rounds.
Common Figma Localization Mistakes
- Translating after development has started, when layout changes are expensive.
- Using placeholder lorem ipsum, so nobody learns how real text behaves.
- Ignoring glossary terms such as product names and feature names.
- Not giving translators screenshots, which leads to wrong word choices.
- Forgetting that icons and colors can carry different meanings in different markets.
Frequently Asked Questions
Can Figma translate designs automatically?
Figma does not include a full translation workflow, but plugins and integrations can send text to AI engines and translation platforms and write the translations back into your frames.
How do I handle right-to-left languages in Figma?
Use auto layout with direction settings, mirror navigation and icons that imply direction, and test with real Arabic or Hebrew text, not placeholders.
Should I create one frame per language?
Only for the key screens you need to approve. Keep a single source design and generate language variants through an integration to avoid maintaining many copies.
Translate Figma Designs With WordBeam
WordBeam connects to Figma, GitHub and GitLab, translates with AI engines, applies your glossary and shows translators every string in context. Learn about the software localization workflow or start a free trial with 14 days and 10,000 words.